
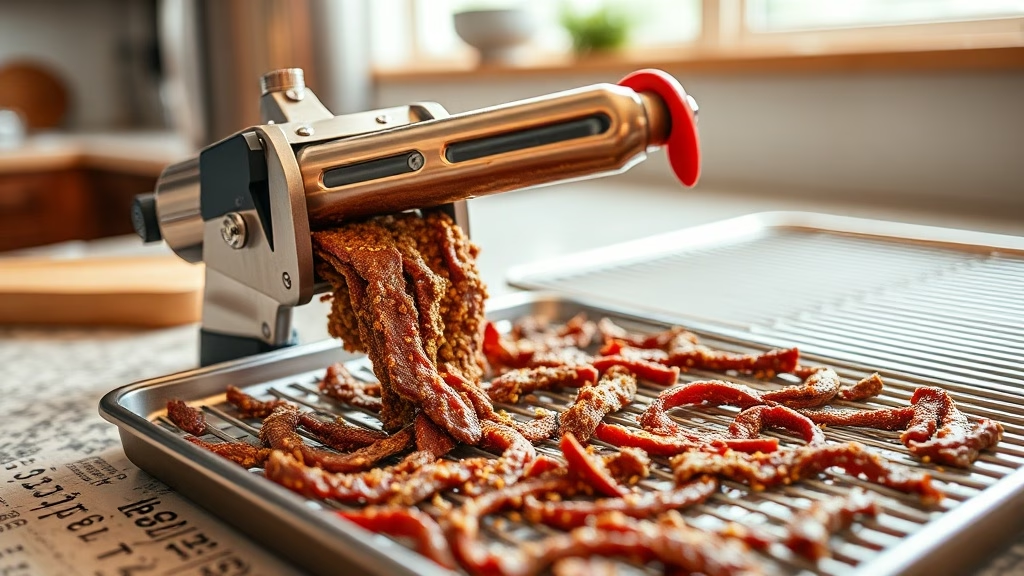
A jerky gun (also called a jerky cannon or jerky shooter) is a caulk-gun-style tool that extrudes seasoned ground meat into flat strips or round sticks, straight onto your dehydrator trays. It’s the single piece of equipment that makes ground-meat jerky practical — without it you’d be pressing and cutting by hand, and the results would be uneven.
If you’re making whole-muscle jerky from sliced beef, you don’t need one at all (see our beef jerky guide for that method). A jerky gun is specifically for ground meat.
Why Use a Jerky Gun at All?
- Cheaper meat. Ground beef, turkey, or venison generally costs less per pound than the lean whole-muscle cuts that slice well for traditional jerky.
- No slicing skill needed. You skip the partial-freeze-and-slice step entirely — no knife work, no uneven thickness.
- Uniform results. Every strip comes out the same thickness and width, so the whole batch dries at the same rate instead of some pieces over-drying while others stay damp.
- Easier to chew. Ground jerky has a tender, uniform bite rather than the fibrous pull of whole-muscle strips — a real advantage if you find traditional jerky tough.
Anatomy of a Jerky Gun
Most jerky guns share the same basic design: a barrel (usually aluminum or plastic) that holds roughly 1–1.5 lbs of ground meat, a trigger-and-plunger mechanism that pushes the meat forward, and interchangeable nozzles at the front that shape the output.
The two standard nozzle types:
- Flat/strip nozzle — produces wide, flat strips that look like traditional jerky. This is what most people use most of the time.
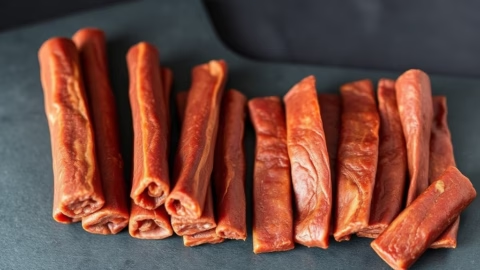
- Round/stick nozzle — produces cylindrical sticks, similar in shape to commercial snack sticks. See our sticks vs strips comparison for how the two formats differ in practice.
Some models also come with a double-strip nozzle that lays two strips at once, which speeds up loading large dehydrator trays.
How to Load and Use a Jerky Gun
- Mix and season the meat thoroughly first. Ground jerky is seasoned before extrusion, not marinated after — mix the cure and spices into the raw ground meat and knead by hand for 2–3 minutes. This develops the proteins enough to bind the strips together; under-mixed meat falls apart on the trays. Our ground turkey jerky guide has a full seasoning recipe and the curing-salt safety details.
- Pack the barrel without air pockets. Press the meat in firmly in small amounts rather than dropping in one large lump. Trapped air causes the gun to sputter and produce broken, gappy strips.
- Prime the nozzle. Squeeze the trigger a few times over a plate until meat flows evenly before you start laying strips on your trays.
- Extrude directly onto the trays, moving at a steady pace. Keep strips a consistent thickness (roughly 1/8–3/16 inch) and leave space between them for airflow.
- Dry at the correct temperature. 160°F for beef, 165°F for poultry, per USDA guidance. See our dehydrator time and temperature guide for timing.
Common Jerky Gun Mistakes
- Meat that’s too warm. Warm ground meat smears and sticks inside the barrel. Keep it chilled (but not frozen) right up until you load the gun — it extrudes far more cleanly cold.
- Meat that’s too fatty. Fat doesn’t dehydrate, it goes rancid. Use 90% lean or leaner for ground jerky; anything fattier shortens shelf life significantly and can leave greasy strips.
- Skipping curing salt. This matters more for ground jerky than for whole-muscle strips, because grinding distributes surface bacteria throughout the meat. Prague Powder #1 (sodium nitrite) is the standard safeguard during the long, low-temperature drying process — don’t skip it on ground meat.
- Overpacking the barrel. Filling past the fill line makes the trigger hard to squeeze and can crack plastic models.
- Not cleaning immediately. Dried raw-meat residue inside the barrel and nozzles is difficult to remove and a genuine hygiene problem. Disassemble and wash right after use.
Disposable Cannon Bags: Worth It?
Some jerky guns accept disposable liner bags that hold the meat inside the barrel, so the barrel itself never contacts raw meat. They cut cleanup time meaningfully and are worth considering if cleanup is the part of the process you dread. The trade-off is an ongoing consumable cost and the waste, so they suit occasional large batches better than frequent small ones.
What to Look for When Buying
- Barrel material. Aluminum barrels are more durable and easier to clean than plastic, but cost more. Plastic is fine for occasional use.
- Trigger mechanism. A ratcheting trigger with good leverage makes a real difference over a full batch — cheap mechanisms get tiring fast and can slip.
- Nozzle selection. At minimum you want a flat strip nozzle and a round stick nozzle. More nozzles add versatility but aren’t essential.
- Dishwasher-safe parts. Worth checking, since cleanup is the main friction point with these tools.
Do You Need a Dehydrator Too?
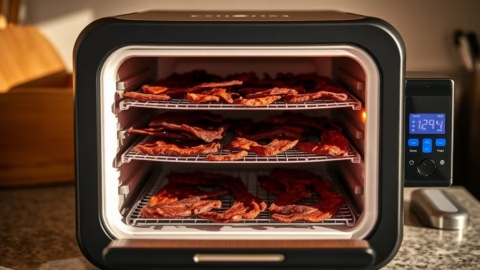
Yes — the jerky gun only shapes the meat; something still has to dry it. A dedicated dehydrator gives the most consistent results and the best airflow control, though an oven set to its lowest temperature with the door propped slightly open also works. See our jerky dehydrator guide for machine options that pair well with ground-meat jerky.