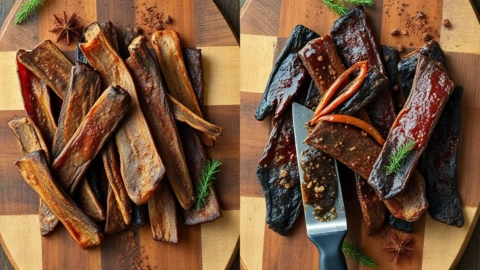

Biltong and jerky look similar in the packet but are made completely differently — and for most people who try authentic biltong for the first time, it immediately becomes their preferred option. The texture is thicker, the flavor is richer, and the process requires no heat at all.
If you’re not sure how the two compare, our biltong vs jerky deep dive covers the six key differences in detail. This guide assumes you’ve decided to try making biltong and want a reliable recipe.
What Makes Biltong Different
Traditional biltong comes from southern African cattle-farming culture where preserving meat without fire was a necessity. The method uses salt and vinegar (both preservatives) plus ambient air drying — no heat source required. This means:
- Thicker cuts — biltong is traditionally cut thick (1/2 to 1 inch) and eaten medium-dry to fully dry depending on preference.
- No smoke or caramelization — the flavor comes entirely from the spice rub and the vinegar cure, not from heat chemistry.
- Longer drying time — 3–7 days at room temperature in a ventilated space, not 4–8 hours in a machine.
What You’ll Need
Equipment is minimal — this is intentionally a no-equipment process:
- Beef silverside, topside, or eye of round — 2 lbs
- Biltong box or DIY setup (cardboard box + small fan + holes — details below)
- Wooden skewers or S-hooks for hanging
- String or paper clips
The Cure (per 2 lbs of meat):
- 3 tbsp coarse salt (not table salt — the grain size matters)
- 2 tbsp whole coriander seeds, lightly toasted and coarsely ground
- 1 tsp black pepper, coarsely ground
- 1 tsp brown sugar
- 1/2 tsp ground cloves (traditional in Cape Malay biltong)
- 1/3 cup brown malt vinegar or red wine vinegar
Coriander is non-negotiable — it’s the defining spice of authentic biltong. You can adjust everything else, but skip the coriander and you’ve made something else entirely.
Step 1 — Slice and Cure
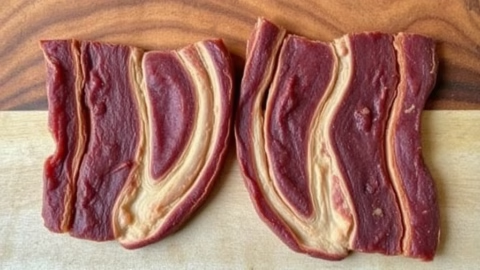
Cut the beef into strips 1/2 to 1 inch thick, cutting with the grain (opposite to jerky — with the grain means the finished biltong slices against the grain when you eat it, giving a better texture). Remove any surface fat but don’t trim obsessively — a thin fat cap actually improves the flavor.
Wet the strips lightly with vinegar and press the dry spice mix firmly onto all surfaces. Place in a non-reactive container (glass or ceramic), cover, and refrigerate for 12–24 hours. The salt and vinegar begin preserving the meat from this point forward.
Step 2 — Set Up a Drying Space
You don’t need to buy a biltong box. A cardboard box works perfectly:
- Cut several 1-inch holes in the bottom and sides for airflow.
- Cut a large panel in the top — cover it with mesh or cloth to keep dust out while allowing airflow.
- Install a small USB or battery fan through one of the side holes, blowing air through the box.
- Hang a wooden dowel across the top interior to hang the strips from.
The ideal environment is 65–75 °F with low humidity. A garage, spare room, or dry basement works well. Avoid kitchens — cooking steam adds moisture that slows drying and can promote mold growth.
Step 3 — Hang and Wait
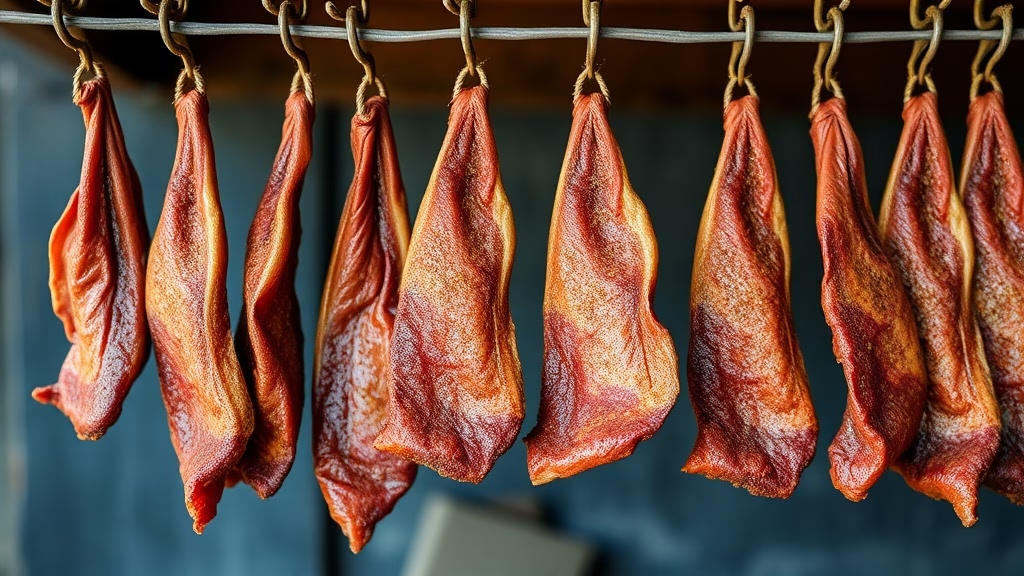
Remove strips from the cure, blot dry with paper towels (don’t rinse — you want the spices on the surface). Hook or tie through one end and hang in your drying box with at least 1 inch between strips.
The fan should run continuously. No heat source is needed or beneficial — heat is what makes jerky, not biltong.
- Wet biltong (South African preference) — 3–4 days. Slightly soft in the center, moist texture. The standard style for serving sliced with a beer.
- Dry biltong — 5–7 days. Fully firm through the center, longer shelf life. Better for packing and snacking.
Check daily after day 3. Squeeze the thickest strip — it should give slightly but not feel raw or wet at the core for wet-style, or feel uniformly firm for dry-style.
The White Mold Question
Some batches develop a white powdery surface on the outside — this is usually salt crystallizing or harmless Penicillium mold identical to what forms on dry-cured European charcuterie. Wipe it off with a cloth dampened in vinegar. Green or black mold, or any sliminess, means the batch is lost — dispose of it. The difference is easy to see and smell.
Storing Biltong
Finished biltong keeps at room temperature for 1–2 weeks wrapped in paper (not plastic — plastic traps moisture). Paper bags or butcher’s paper are traditional. Refrigerated: 4–6 weeks. The key is breathable packaging — unlike jerky, biltong continues to cure slowly after drying completes. See our jerky storage guide for comparison benchmarks across preserved meats.
How Homemade Compares to Buying
Commercial biltong imported to the US often skips the hanging step entirely and uses an accelerated heat process, which produces a drier, less complex result than the traditional air-cured version. We’ve ranked the best authentic options available online in our best biltong buying guide — if you want to taste the real thing before committing to a home batch, that’s a good starting point.
For home batches, the cost runs about $4–5 per ounce of finished product — more expensive than jerky by weight, but biltong’s density means a little goes a long way. The flavor difference versus commercial options is significant enough that most people who try homemade biltong stop buying the imported stuff.
Final Thoughts
Biltong is a forgiving, equipment-free process once you understand the logic: salt and acid preserve, air and airflow dry. The waiting is the hardest part — but the result at day 4 or 5, sliced thick against the grain, bears almost no resemblance to the thin, brittle jerky strips most people know.